Dallas, TX #1
Flashing Installation and Repair
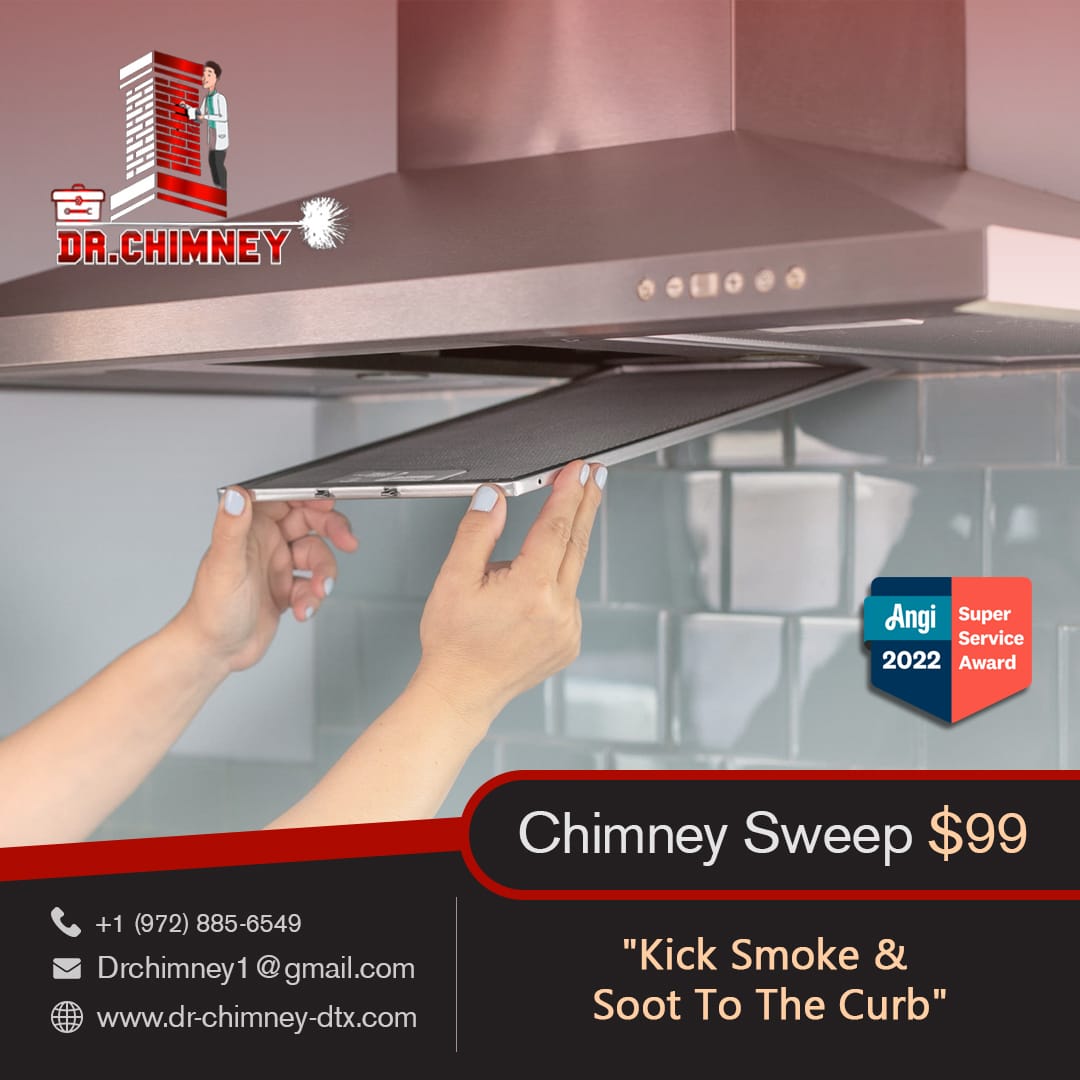
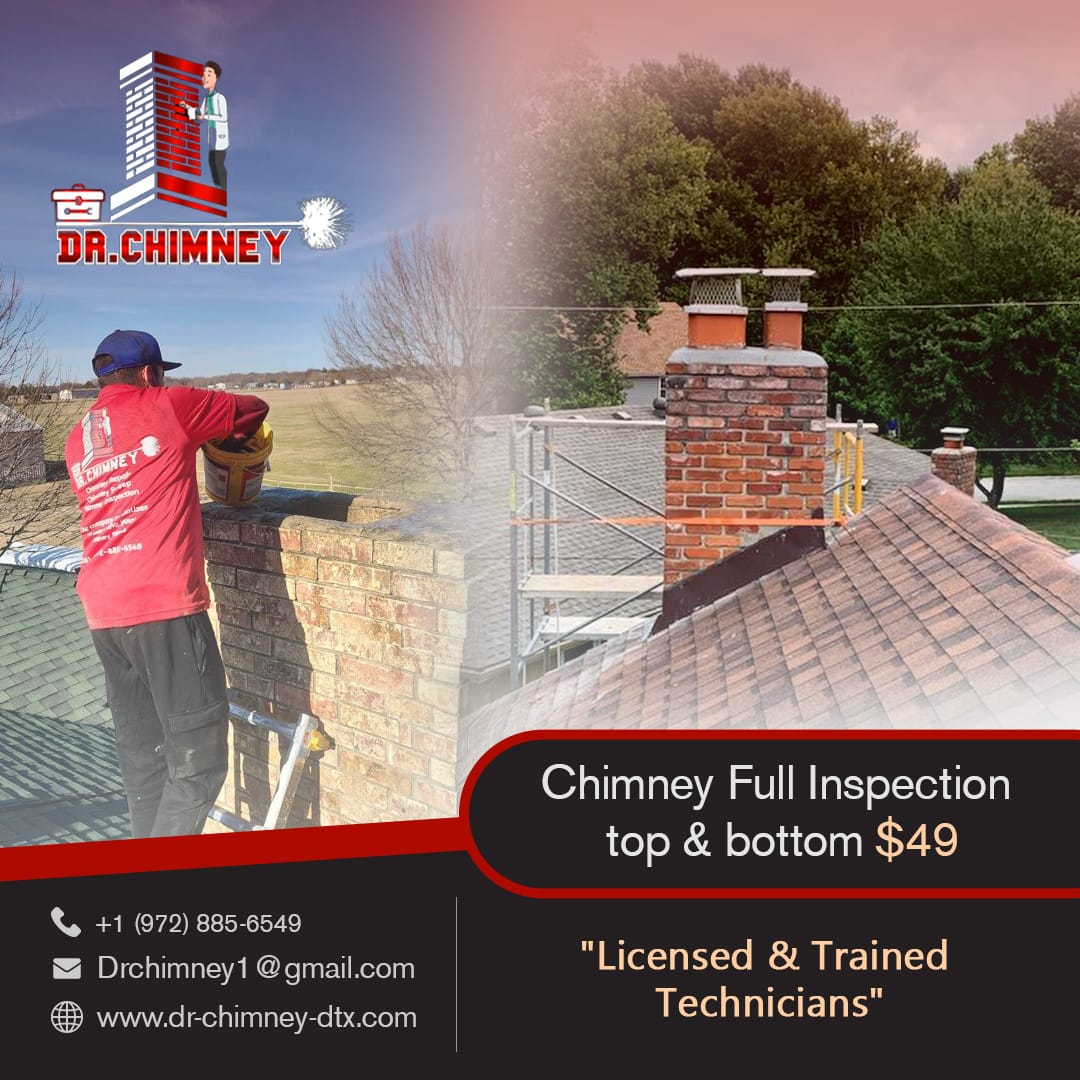
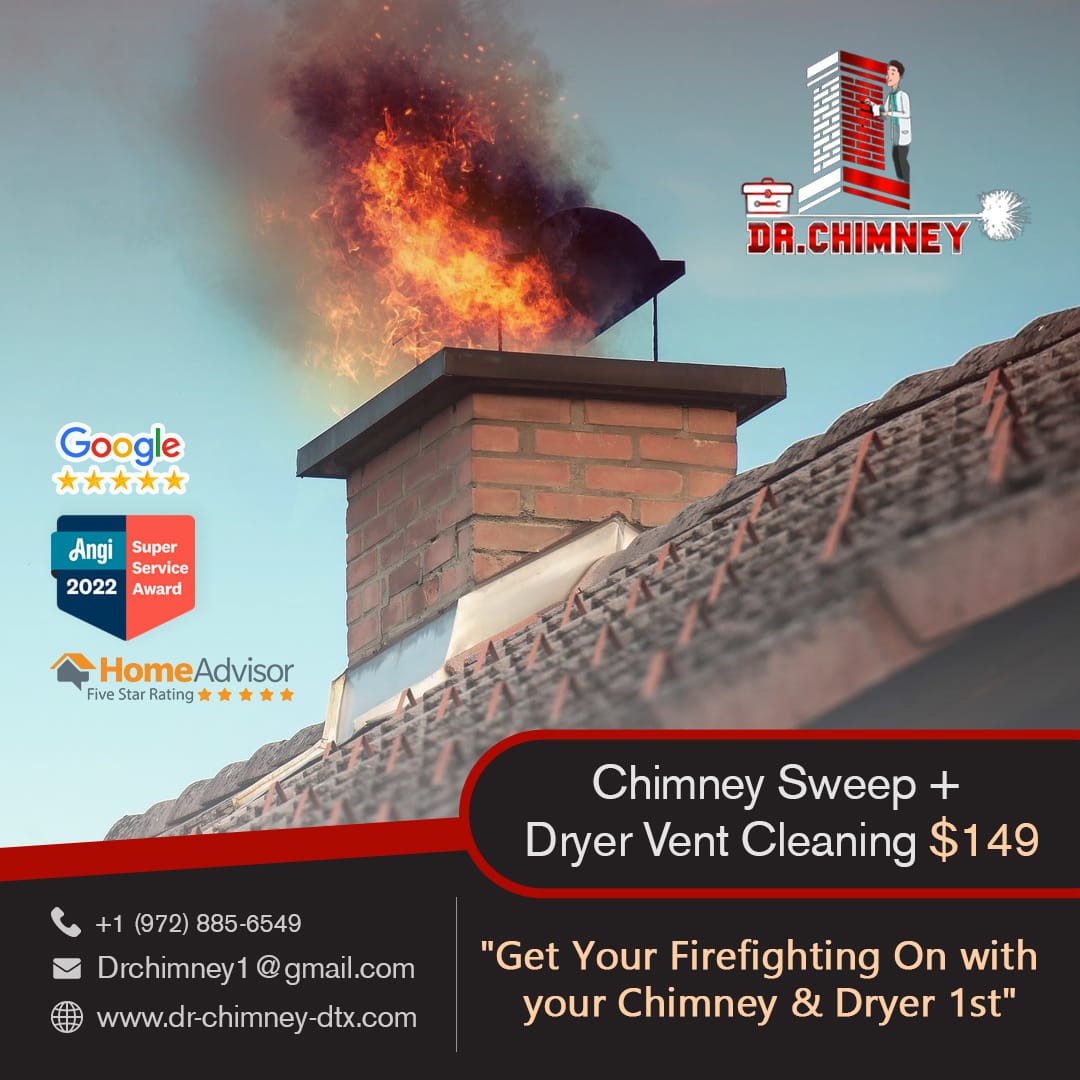
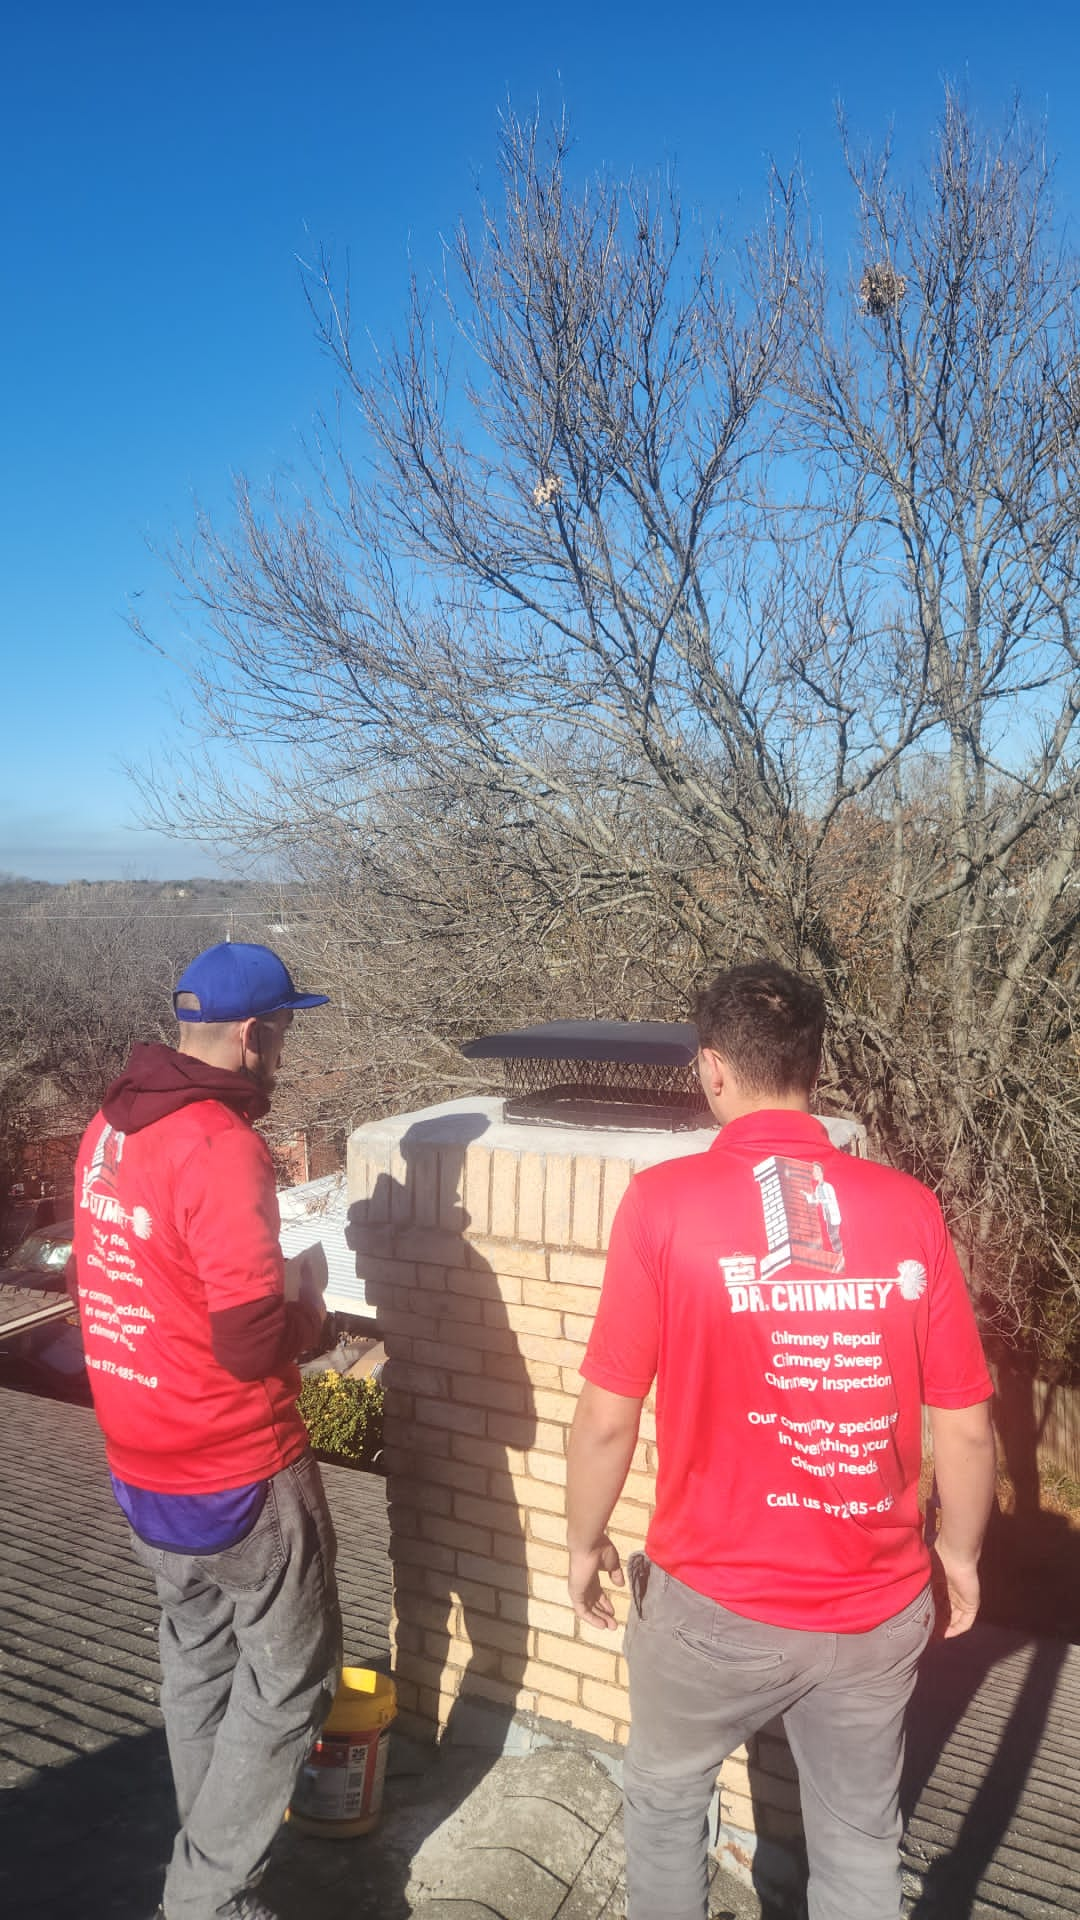
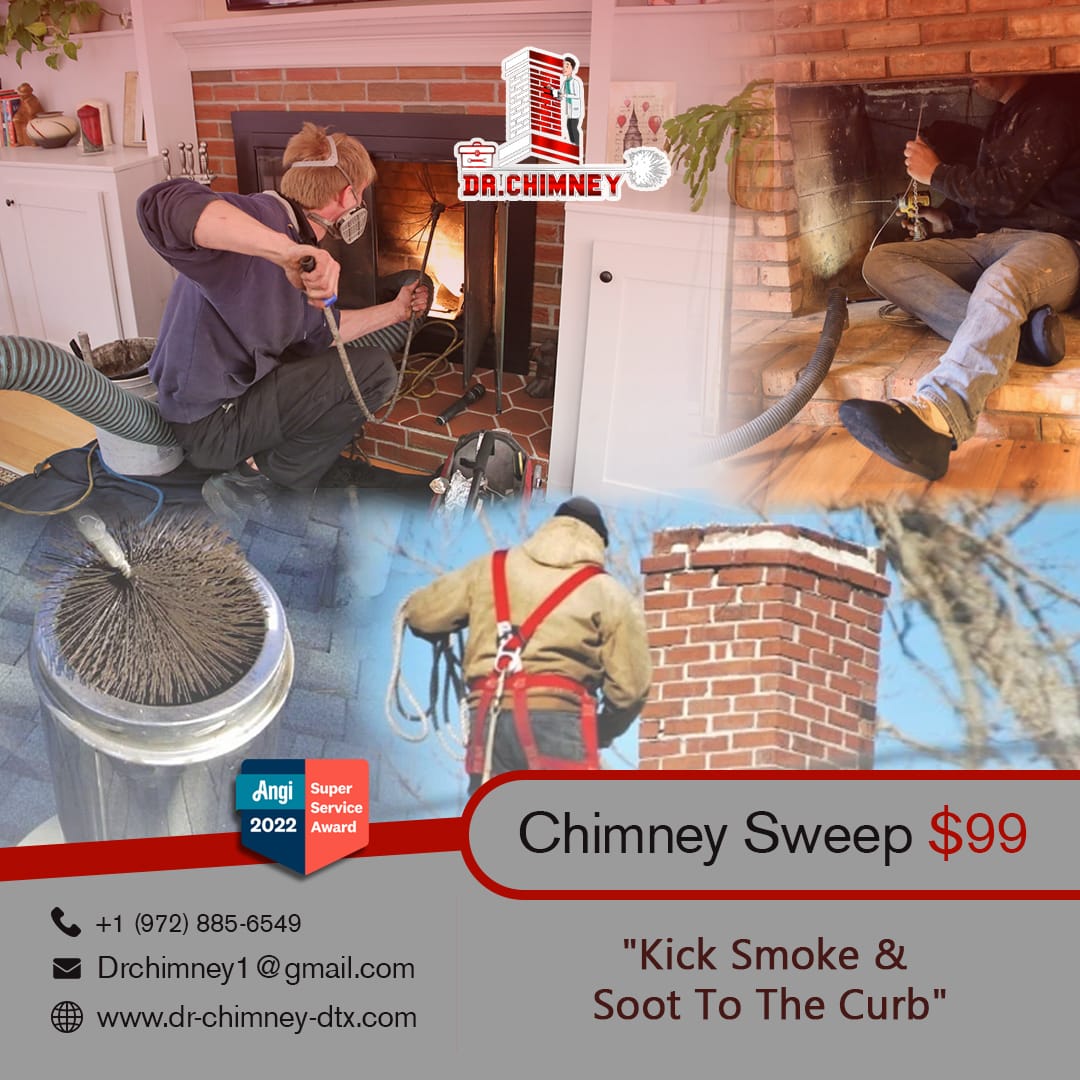
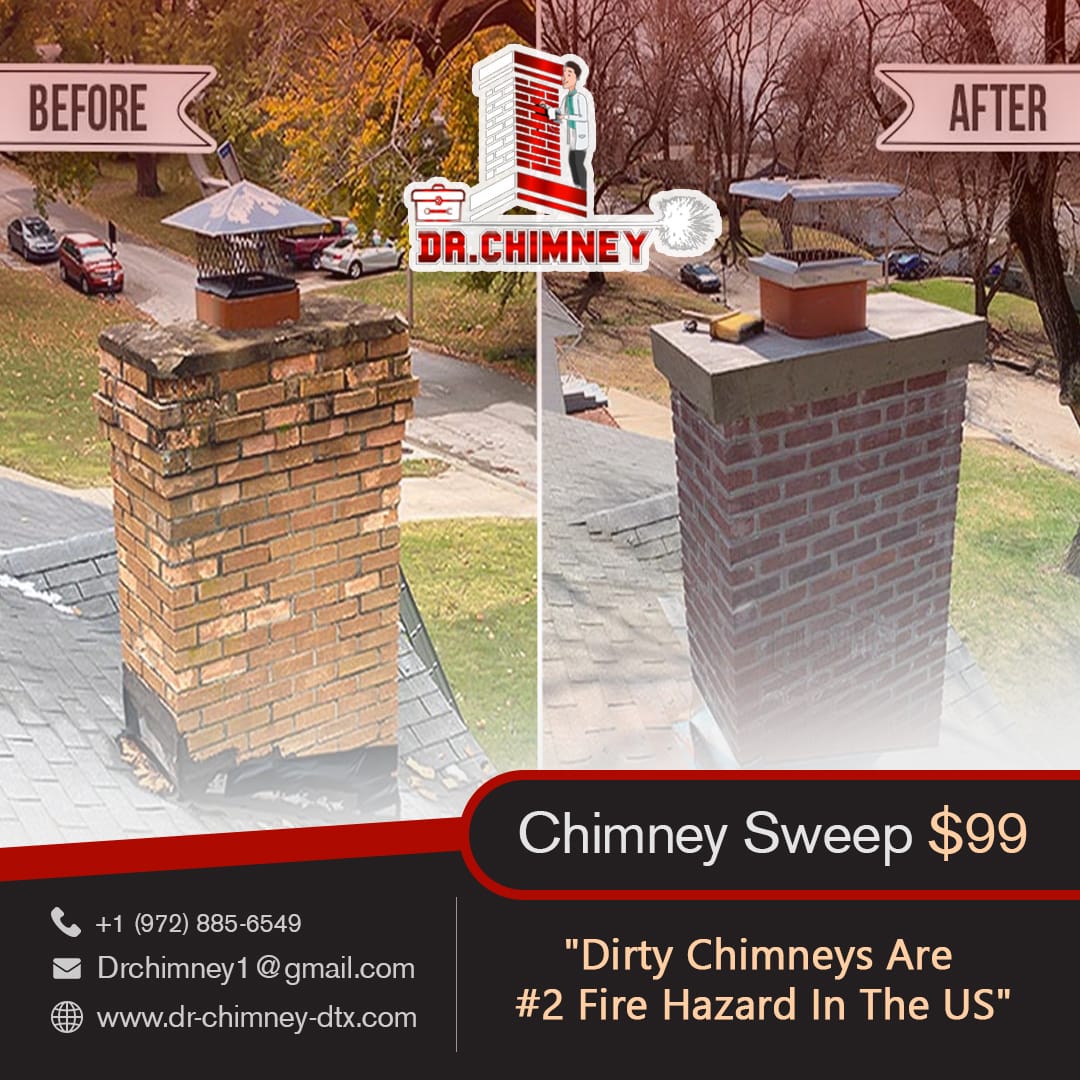
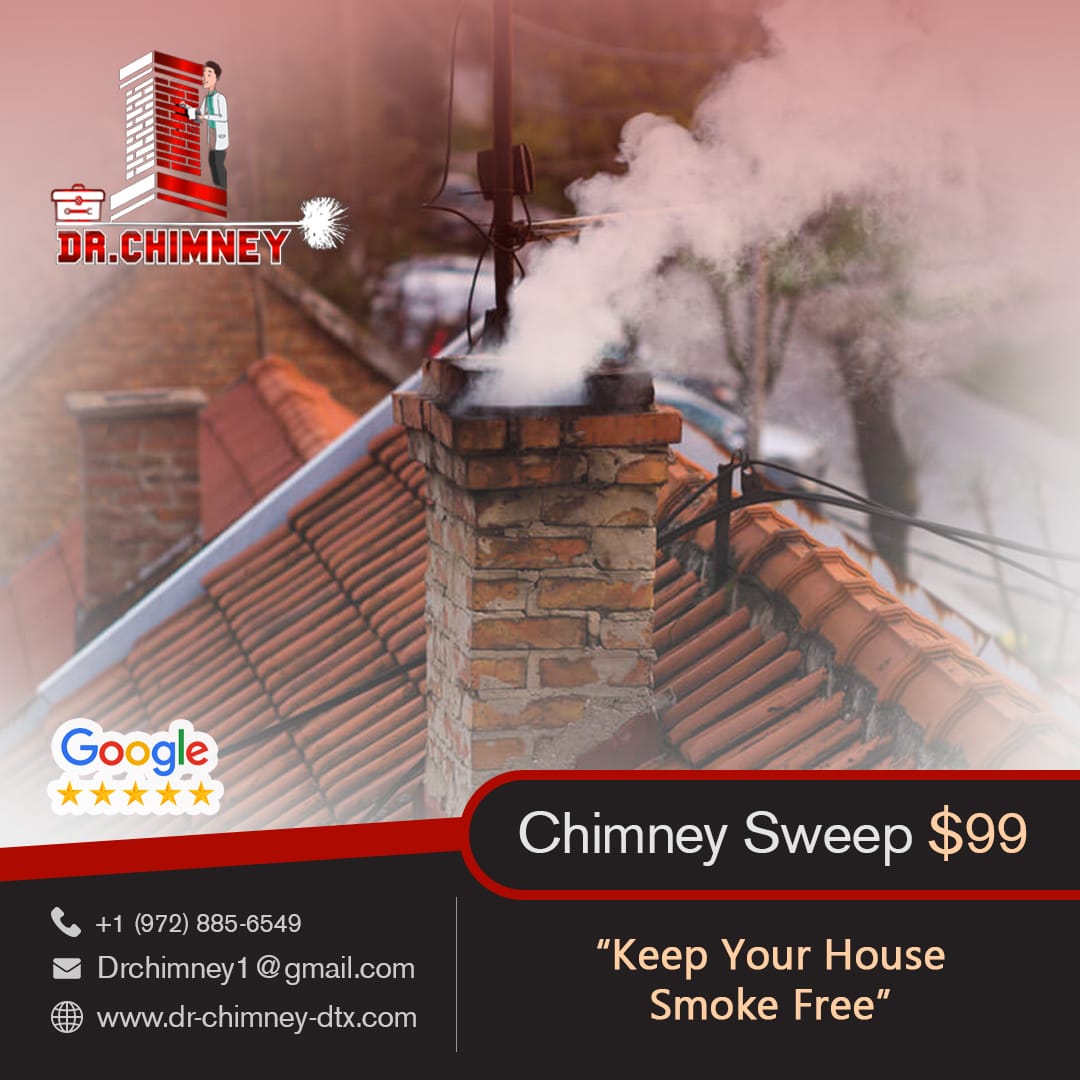
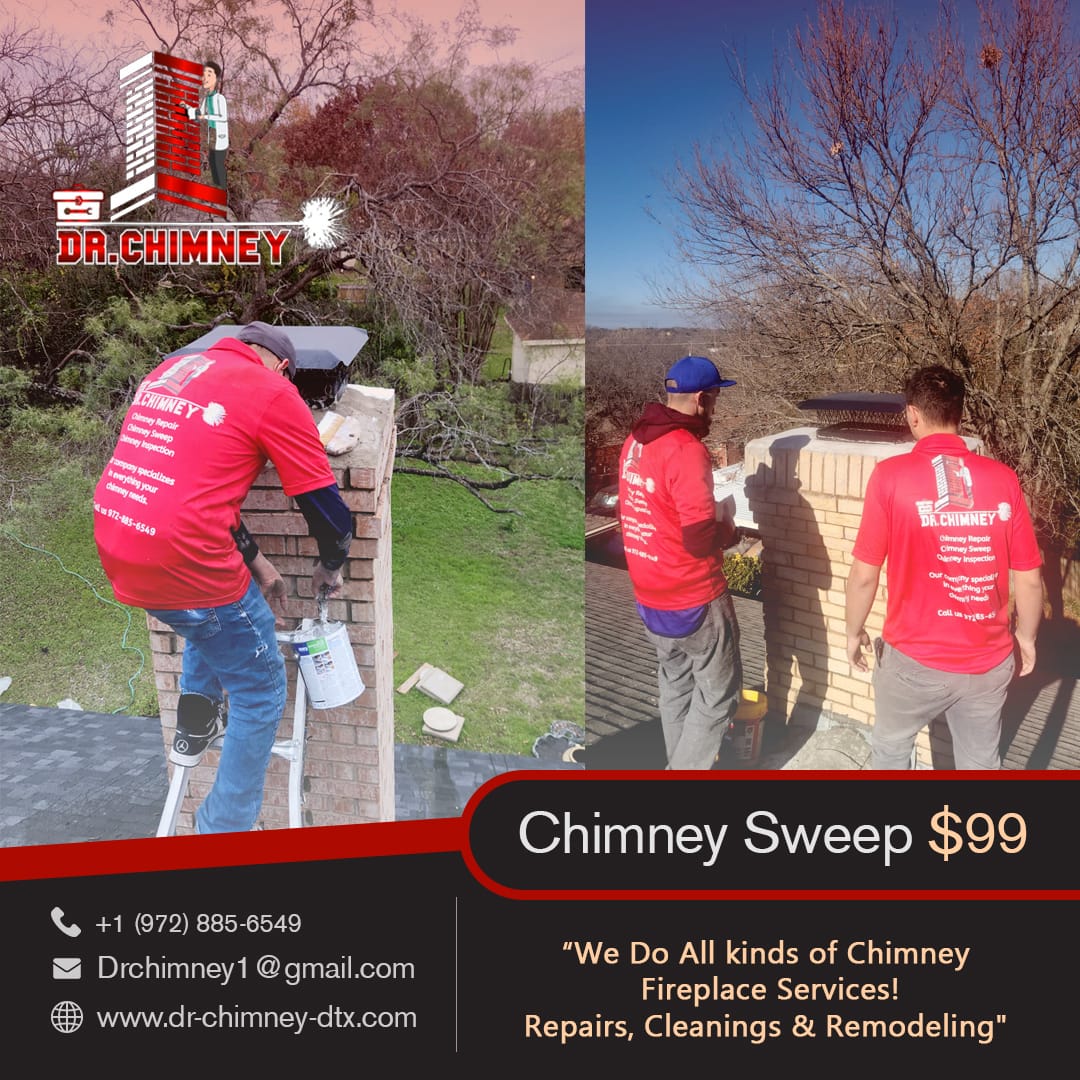
When choosing a chimney sweep company in Dallas, TX, there are many factors to consider. The most significant aspect to consider is the contractor’s accreditation and insurance. Before deciding, make sure you inquire about both. Other things to consider include the contractor’s experience, reputation, and cost. If you’re searching for the best chimney cleaning contractors in Dallas, TX, look no further than DR CHIMNEY.
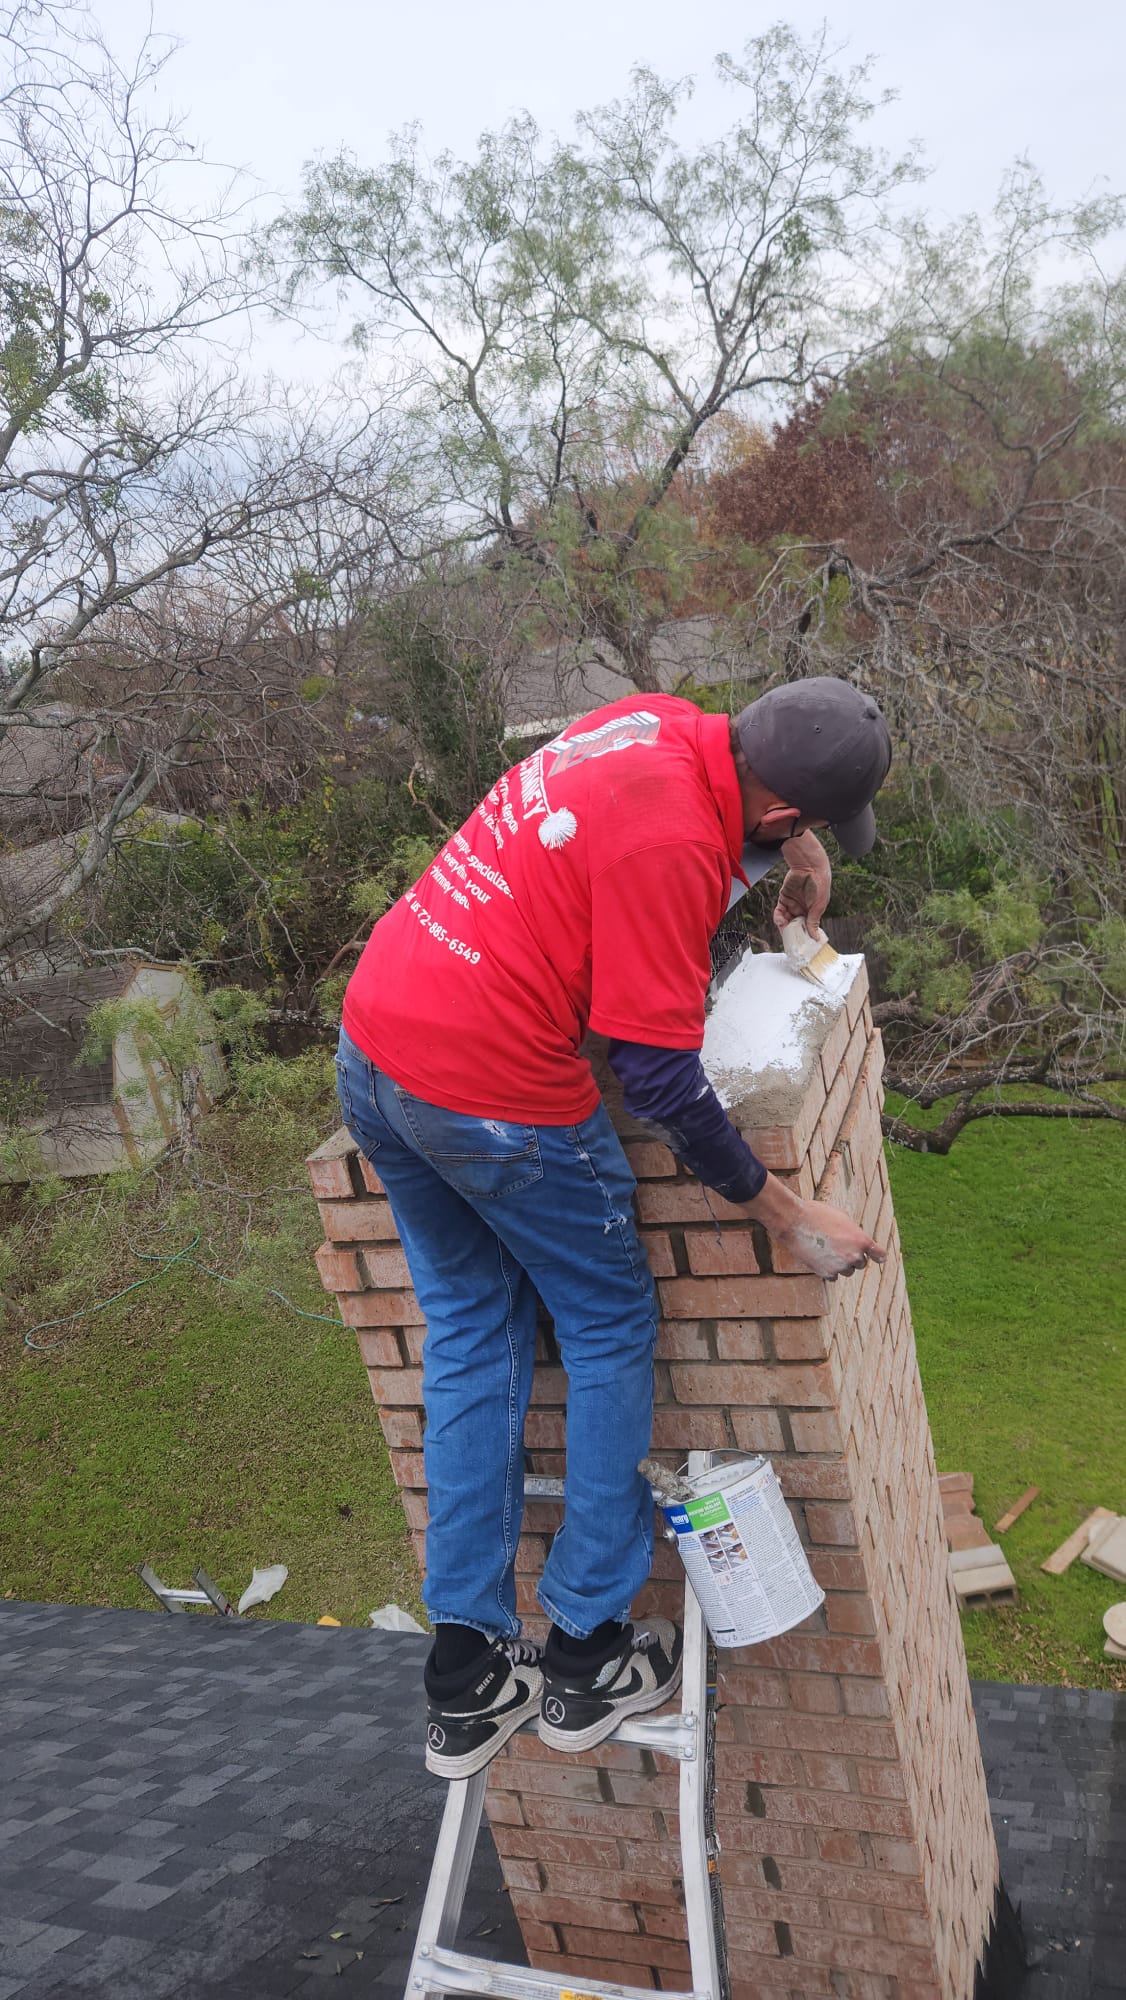
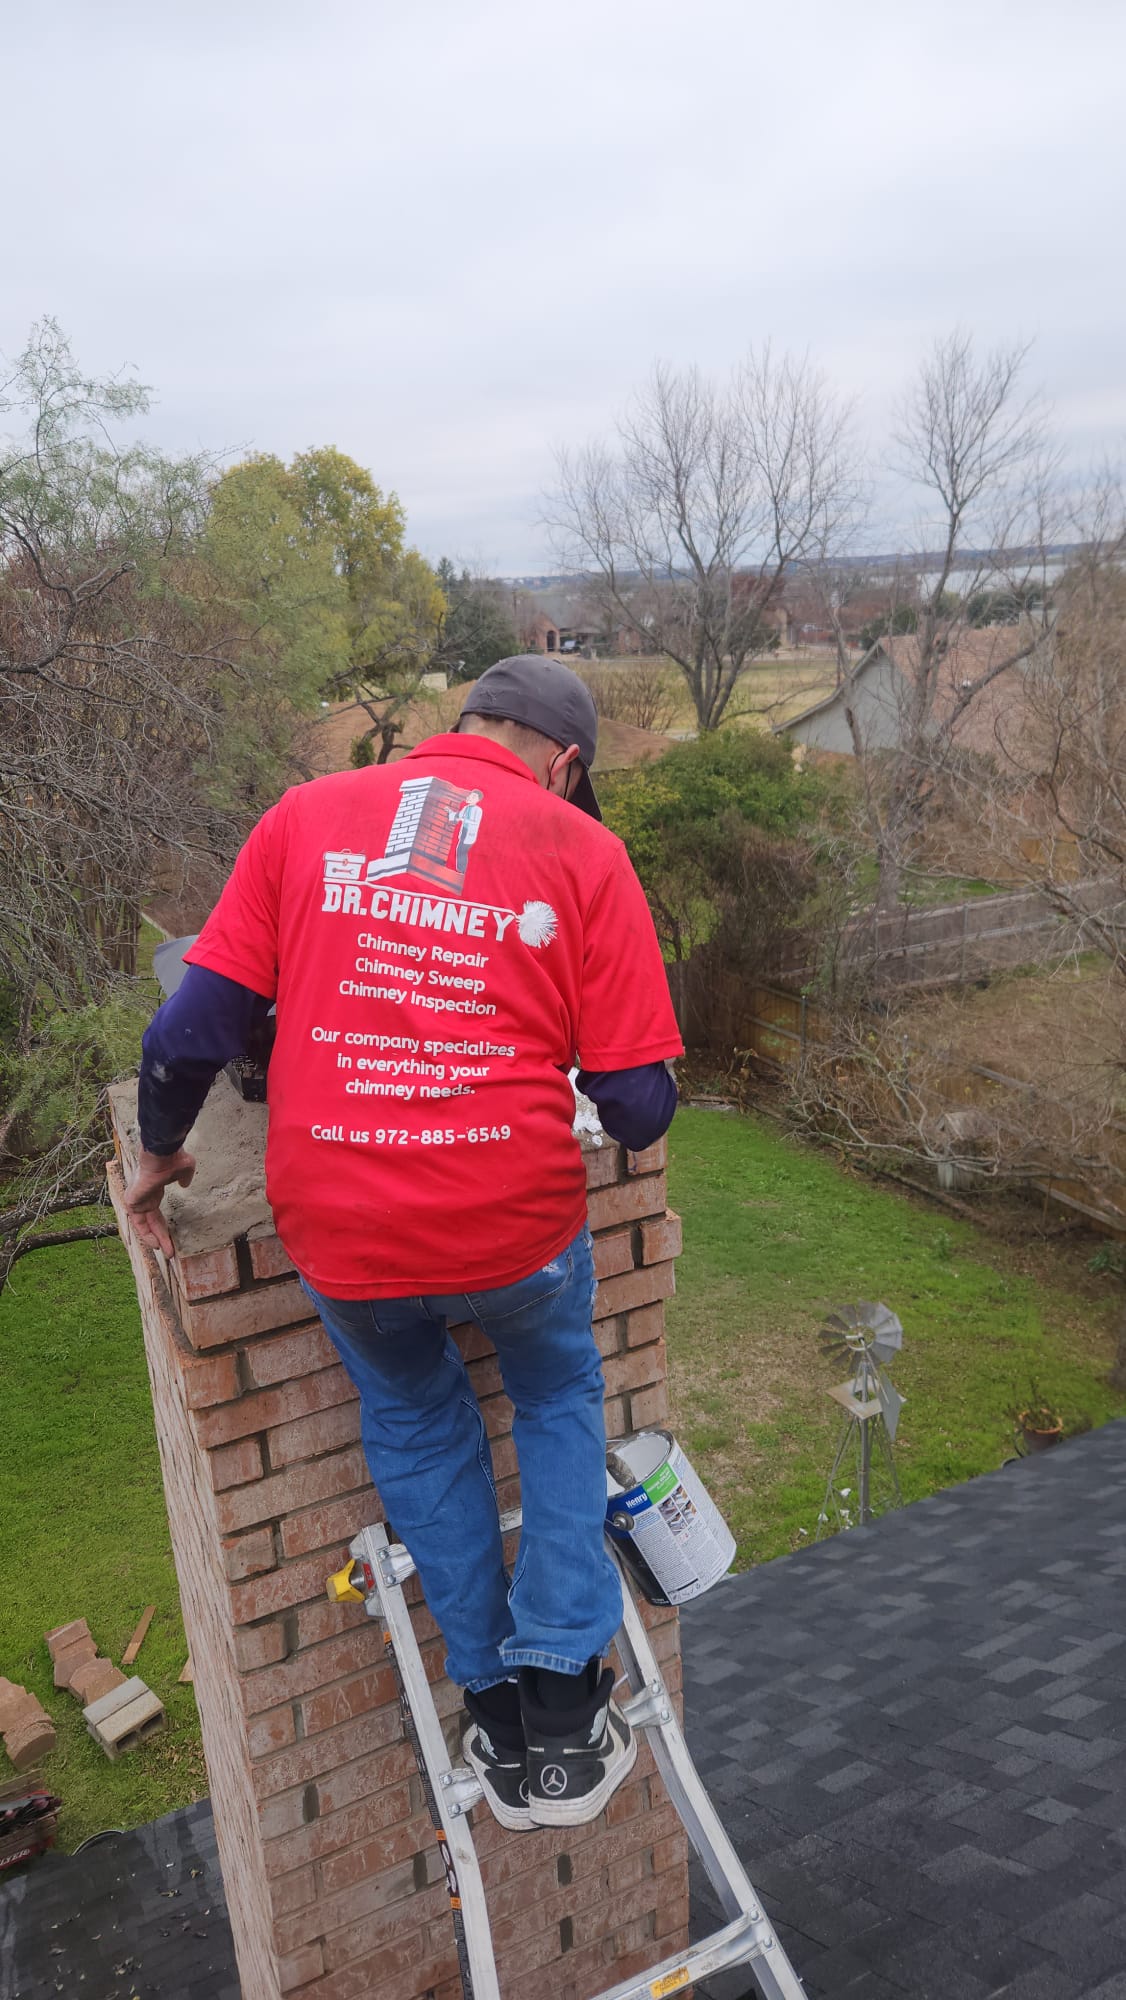
Homes with chimneys require more maintenance than homes without. If you’ve recently encountered a chimney leak or noticed rust stains inside your firebox, you may need to repair your chimney flashing.
Today, we’ll go over what chimney flashing is, the signs that you should look out for to know if it’s time for a chimney flashing repair or replacement, a step-by-step look at how professionals replace flashing or preform a flashing repair, and we’ll look at the drawbacks of trying to replace flashing yourself.
What is Chimney Flashing?
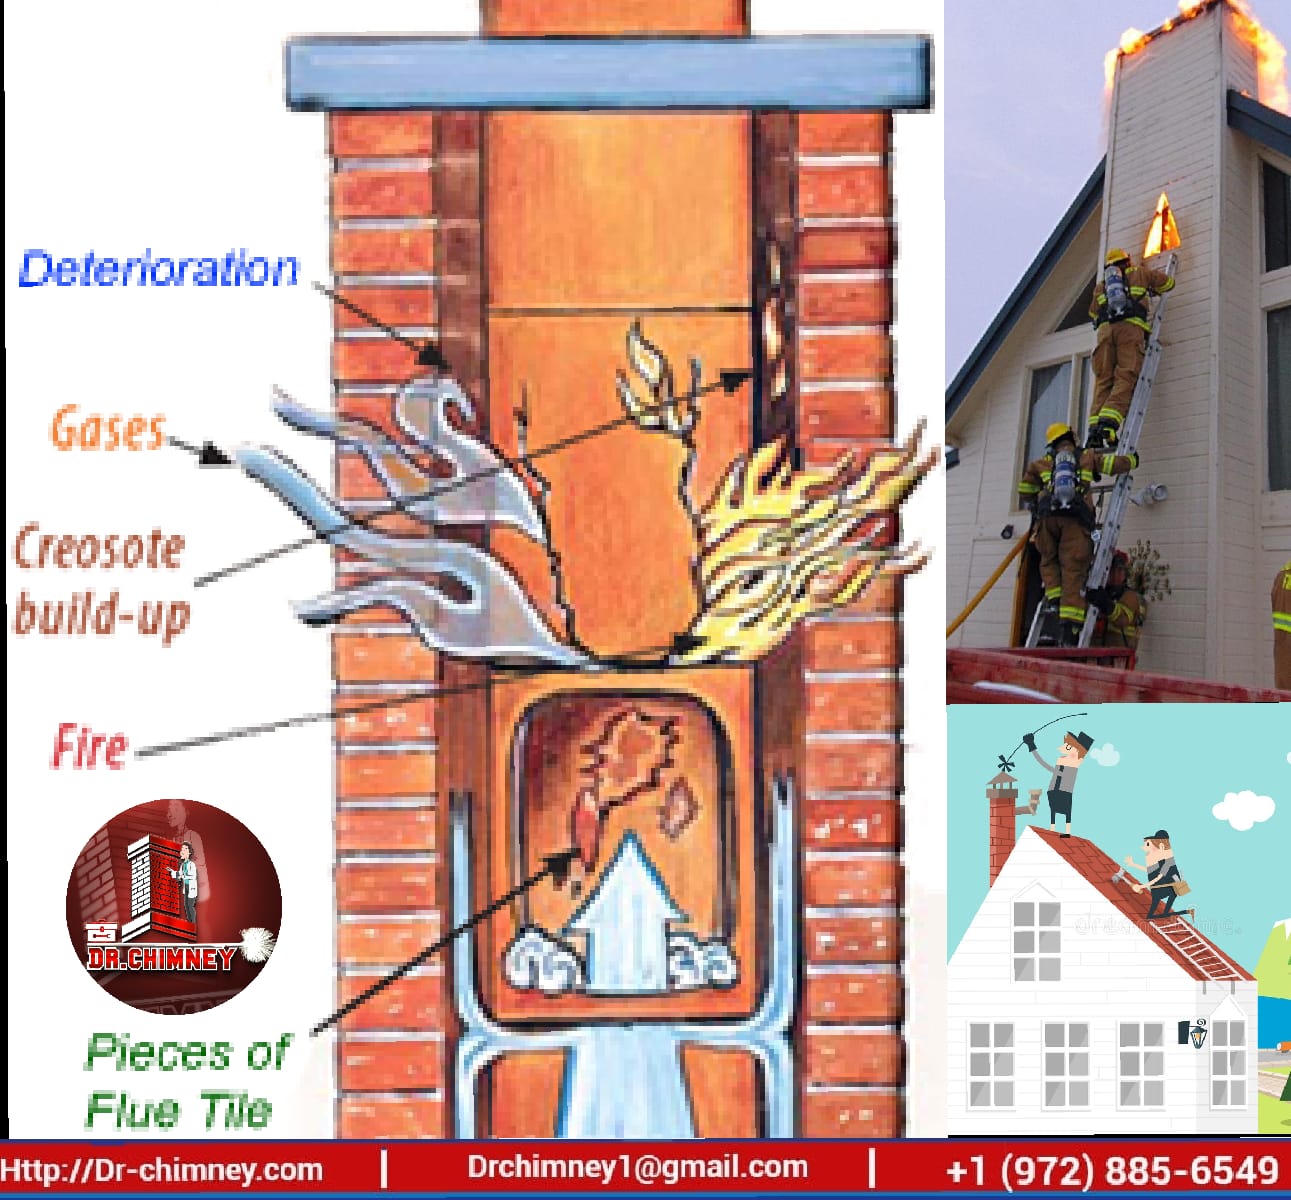
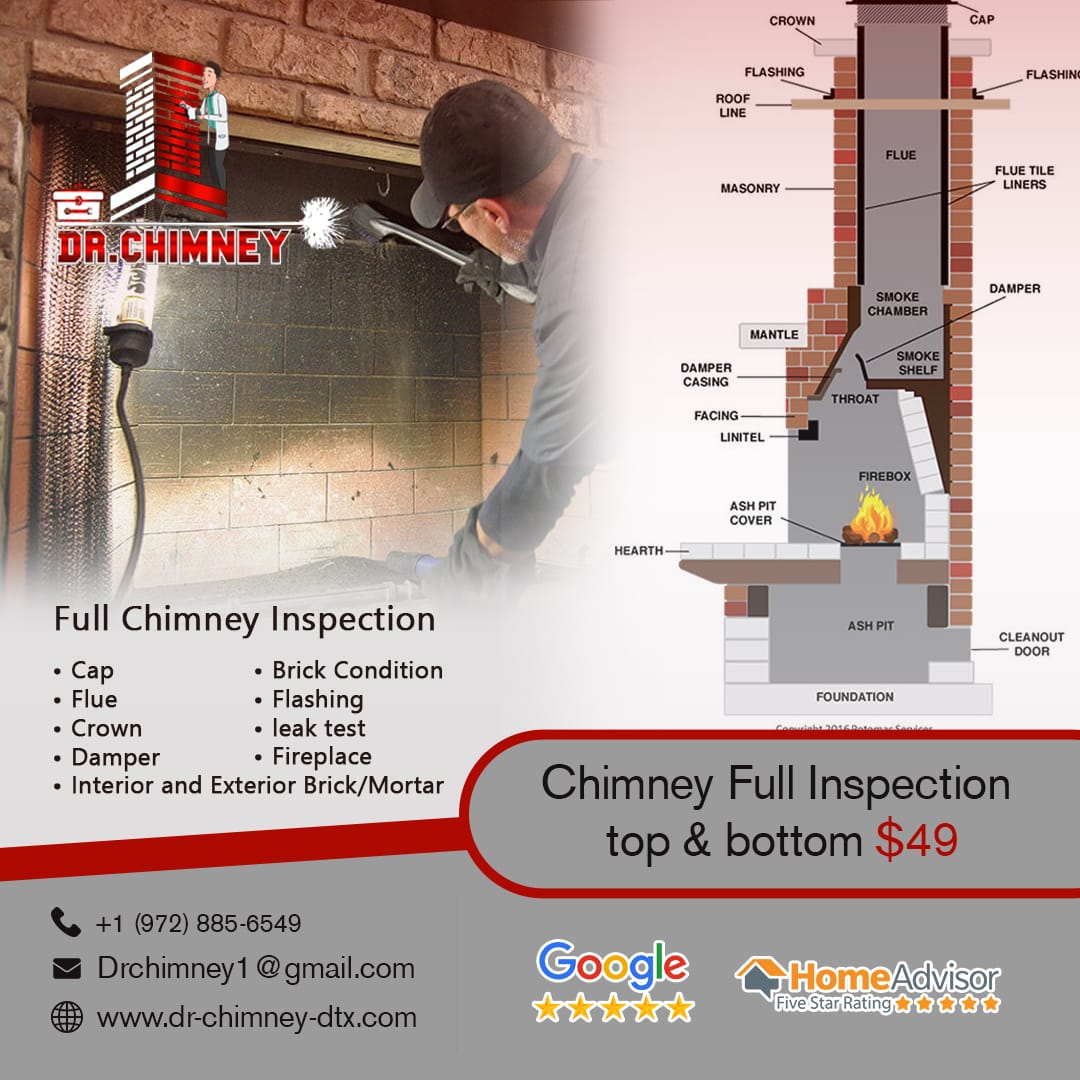
Chimney flashing is a type of roof flashing that creates a waterproof seal to protect your chimney and roof from water damage and penetration. Essentially, chimney flashing functions as weather stripping for your chimney and is made up of three major parts: step flashing, counter flashing—also called cap flashing—and base flashing.
Step flashing is an L-shaped piece of metal that lies under the roofing shingles and along the brick of your masonry chimney.
Counter or cap flashing is also an L-shaped metal piece, but it is designed to cover the step flashing and embedded into a groove cut in the chimney brickwork.
Base flashing is used at the joint between a vertical surface and the roofing surface, in this case the base of the chimney, guarding against water penetration.
These parts, together with caulk create a waterproof seal.
If the chimney flashing around your chimney fails and begins to leak it could cause serious damage to your roofing, attic, and even interior rooms.
The chimney itself could even sustain damage if the chimney flashing begins to leak. As water penetrates the mortar joints between the bricks of your chimney, the chimney’s structure could become brittle and begin to crumble.
Flashing is installed at the point where your chimney meets your roof and is made out of vinyl, aluminum, copper, or steel, depending on your roofing and the surrounding climate.
Signs You Need to Repair Your Chimney Flashing
Properly installed chimney or roof flashing can last up to 30 years. Lifespan is determined by surrounding details like where you live, shape and size of your chimney, and the materials used to make it. Knowing what year your house was constructed helps keep track of the life of your chimney.
Signs it is time for a chimney flashing repair include:
- Leaking from the inside or outside of the chimney
- Sounds and evidence of dripping, like puddles
- Discolored bricks
- Rust stains
- Water stains on interior ceilings or walls adjoining the chimney
- Visible gaps in the caulking around the flashing
They say that April showers bring May flowers, but this also means lots of rain and dampness. Spring is the most common time for a chimney leak.
However, chimney leaks through the flashing can also occur in the late summer/early fall during thunderstorms and in the winter after snow on chimney tops begins to melt down the chimney walls.
One thing to be aware of when it come to leaks is if you’re noticing water inside your firebox it may not be a chimney flashing issue, it could be an issue with your chimney cap instead.
Due to most chimneys’ locations, you may not notice water damage until it has penetrated further into your roofing. If it damages the roof flashing there may be constant moisture in your attic or ceiling which can lead to wood rot and drywall damage.
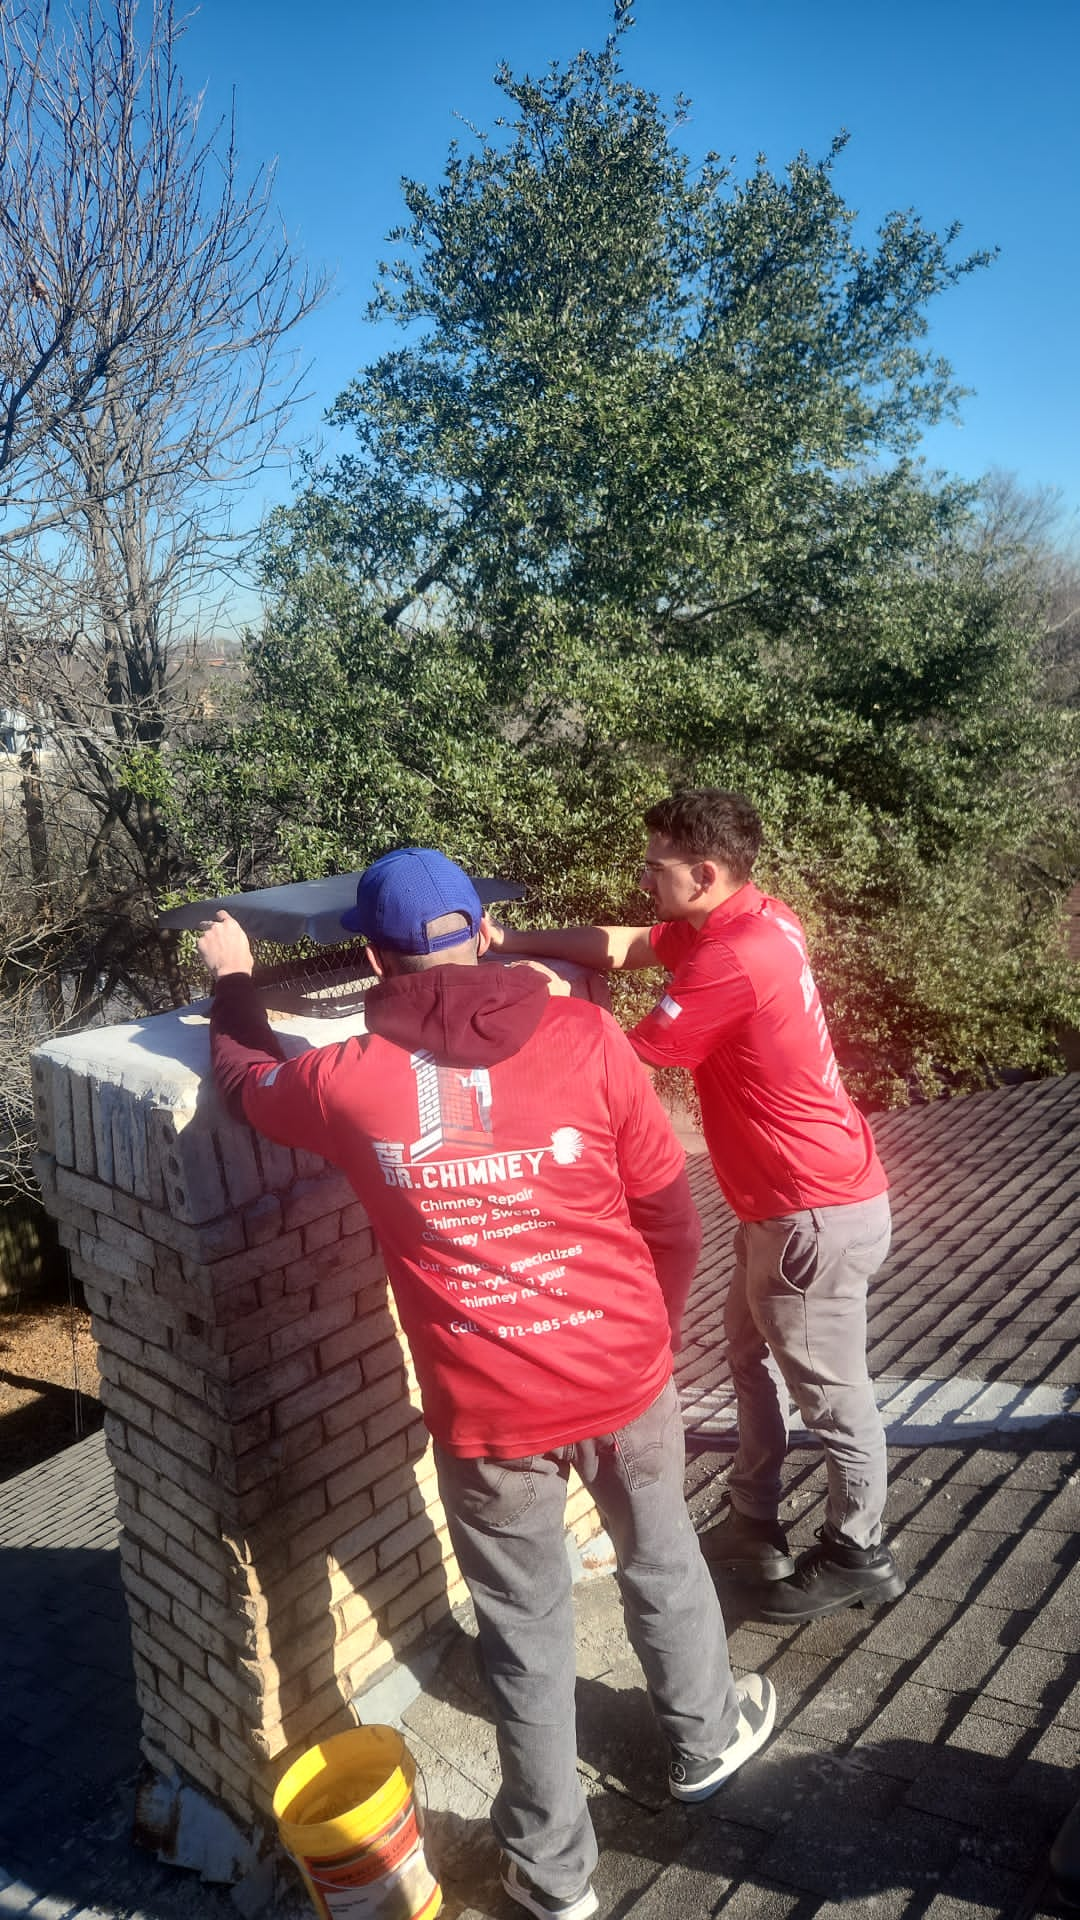
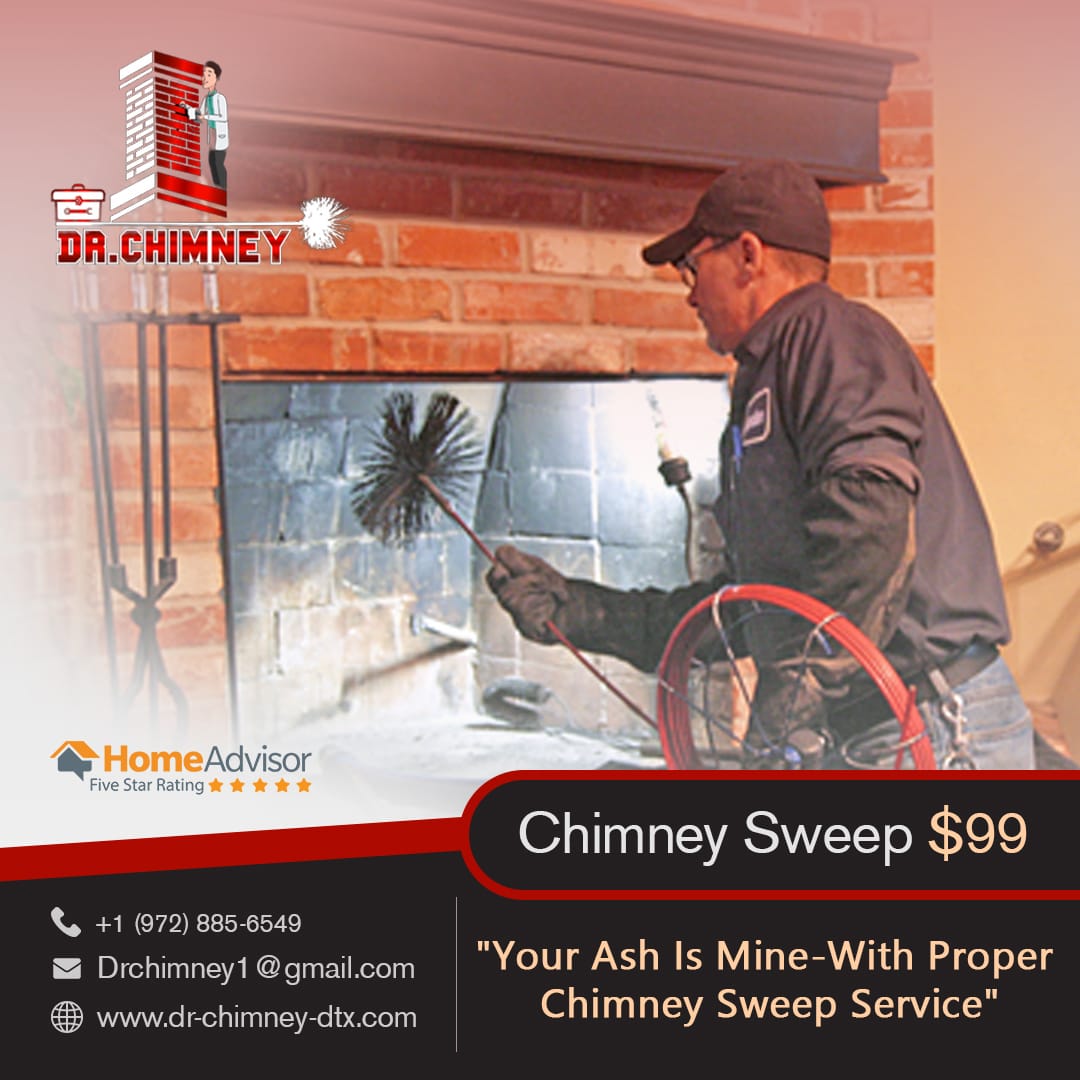
How to Repair Chimney Flashing
Leaking chimney flashing can sometimes be repaired by resealing it with new caulk or roofing cement. However, if your flashing is warped or flared, it may be damaged or worn out beyond repair.
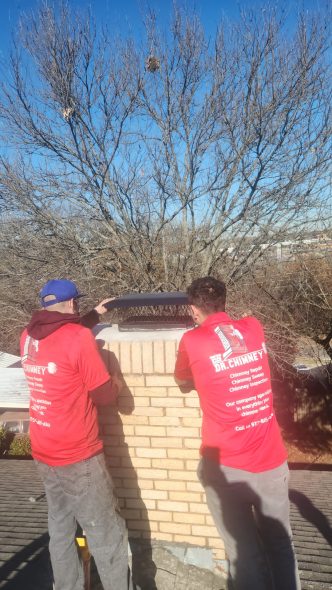
The following process is used by chimney professionals to remove and replace chimney flashing:
- First the existing chimney flashing and shingles surrounding the chimney are removed.
- Then the base flashing is installed around the bottom of your chimney.
- Pieces of step flashing and shingles are overlapped and interweaved to redirect water away from the chimney and roof.
- The front flashing, back flashing, and side flashing are then installed.
- Finally, counter flashing is installed and caulk is applied to create a strong waterproof seal.
Should You Replace the Flashing Yourself?
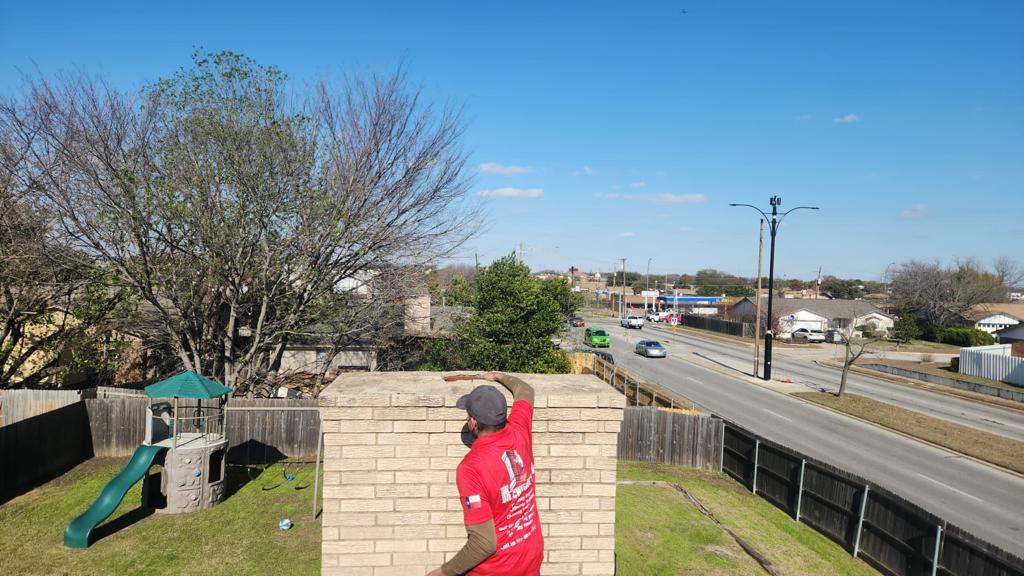
Repairing chimney flashing on your own is doable but challenging. It often takes place at a height of 30-40 feet (or more) off the ground and requires experience and skill. Before you begin to take the job on yourself, consider the following.
Safety Precautions
To access your roof, you will need to use an extension ladder with a helper holding it steady and secure at the bottom. Once you get on your roof, each step you take will have to be careful, steady, and secure, especially when walking on an angle. Homeowners falling off of their roofs is more common than you would think.
When the old flashing is removed, a great deal of care needs to be taken to not get cut or otherwise injured by the old, and possibly very sharp, pieces of sheet metal.
You will also need all the necessary tools and supplies to correctly repair your flashing. Protective eyewear, heavy-duty gloves, and gripping boots should be worn and, in most cases, a roof jack will need to be installed.
Tools and Material Considerations
Alongside having the correct tools, you also need the right materials. Accurate chimney measurements must be taken so that the flashing can be cut correctly. The measuring, cutting, and bending of the metal will need to be done before climbing onto the roof for the installation process.
Time Considerations
There’s only a limited amount of time one person can work on replacing their own chimney flashing.
Work should start early in the morning before the sun has had an opportunity to bake your roof all day. Shingles and adhesive heat up and become more flexible and moldable in hot weather, making them more challenging to remove. The heat may also be difficult to work in if you are not used to it.
Once you get the shingles removed, keep in mind that the longer your roof goes without shingles or roof flashing as you work on the repairs, the more susceptible it is to damage.
Finding an Expert to Help
Repairing and replacing your chimney flashing takes a great deal of skill, effort, expertise, and care. You will need the right tools and protective equipment, accurate measurements, and expertise. The process may also take longer to do than you expected which may leave your roof and chimney exposed to further damage while you work on the repairs.
While you can repair chimney flashing on your own, it isn’t easy. The best decision for you and your home is to call and schedule an appointment with Dr Chimney. Our professionals can repair your chimney flashing quickly and safely or let you know if more significant roofing issues are present.
Our Serving
Areas (Locations Names)
- Fort Worth, TX
- Arlington, TX
- Plano, TX
- Garland, TX
- Irving, TX
- Grand Prairie, TX
- Mesquite, TX
- Carrollton, TX
- Richardson, TX
- Denton, TX
- Lewisville, TX
- Allen, TX
- Frisco, TX
- Flower Mound, TX
- North Richland Hills, TX
- Rowlett, TX
- Euless, TX
- Grapevine, TX
- Bedford, TX
- DeSoto, TX
- Cedar Hill, TX
- The Colony, TX
- Haltom City, TX
- Coppell, TX
- Hurst, TX
- Keller, TX
- Mansfield, TX
- Duncanville, TX
- Rockwall, TX
- Lancaster, TX
- Cleburne, TX
- Burleson, TX
- Wylie, TX
- Farmers Branch, TX
- Southlake, TX